Your bulb can be connected to the app in 3 ways:
1. EZ mode
2. Bluetooth mode
3. AP Mode
This article will describe how to install the bulb using EZ Mode.
Screw your new Smart Bulb into the light fixture you would like to use, then, turn the light bulb ON to start the connection process. The bulb should pause a moment before it starts rapidly blinking; If it's not, turn the light off and on until it does rapidly blink. Then, open your Feit Electric App to start the connection process.
If this is your first time setting up a Feit Electric Smart Device, download the Feit Electric App from the Google Play or the Apple App Store (if you haven't done so already) and log in, or, register to create an account.
Step 1 - Open your Feit Electric App
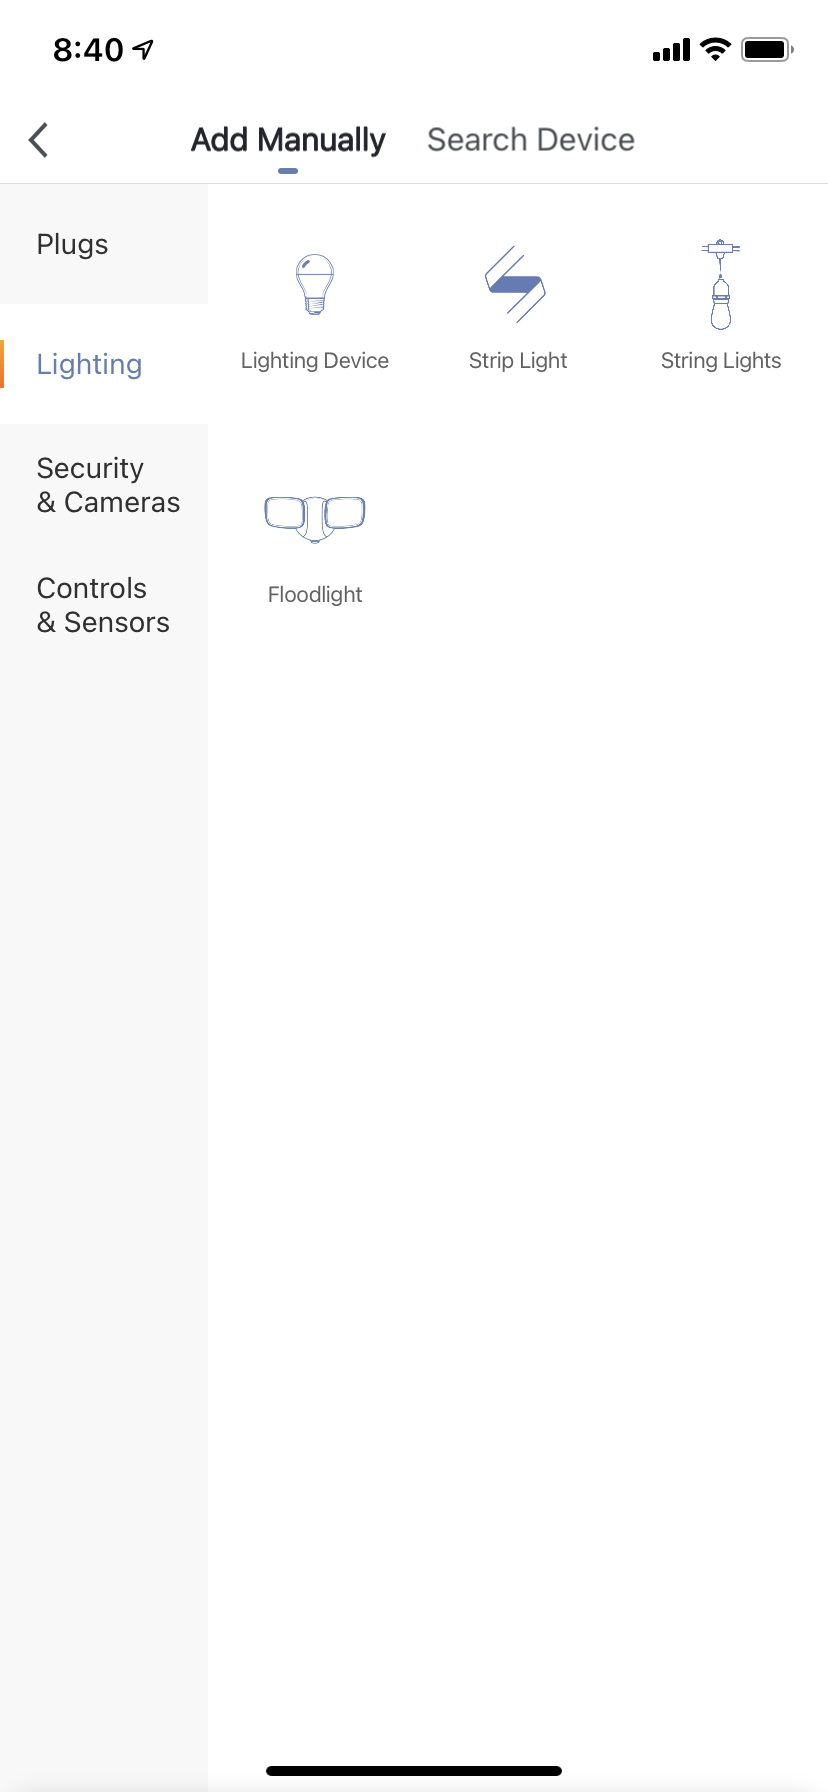
From the Feit Electric App's home screen, tap Add Device OR the + sign at the top right corner of your screen.

Step 2 - Select EZ Mode
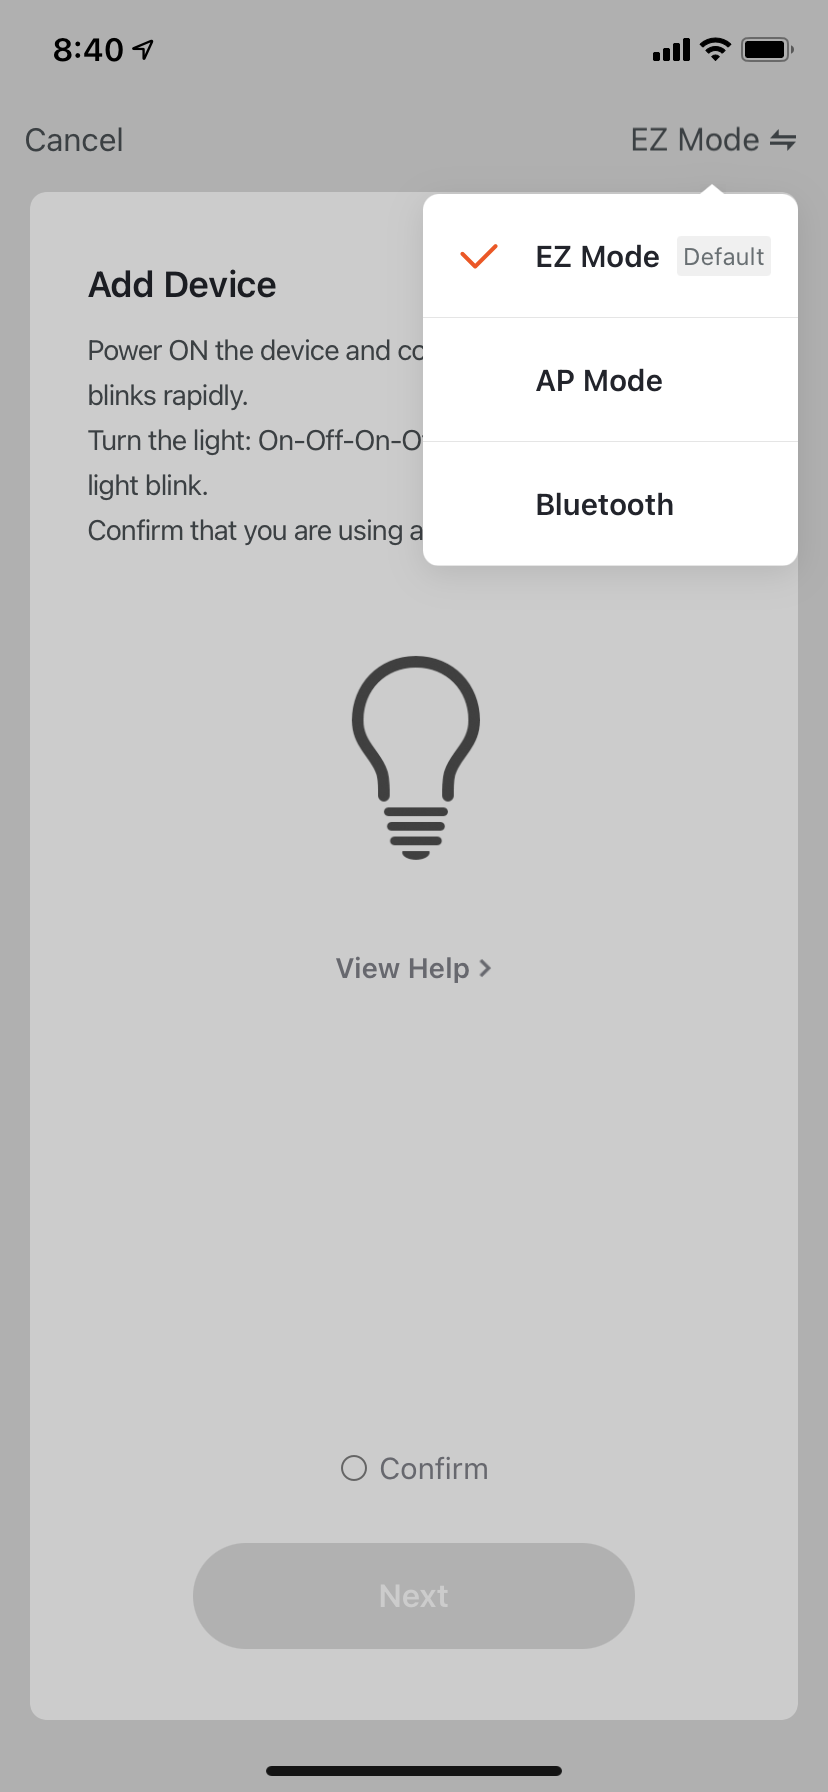
Open the drop down menu in the top right corner of your Feit Electric App, THEN, select EZ Mode. Tap Confirm and then Next to continue.


Step 4 - Connect to a 2.4GHz Wi-Fi
Enter your Wi-Fi network's name and password, then tap next.
Step 5 - Finish Connecting
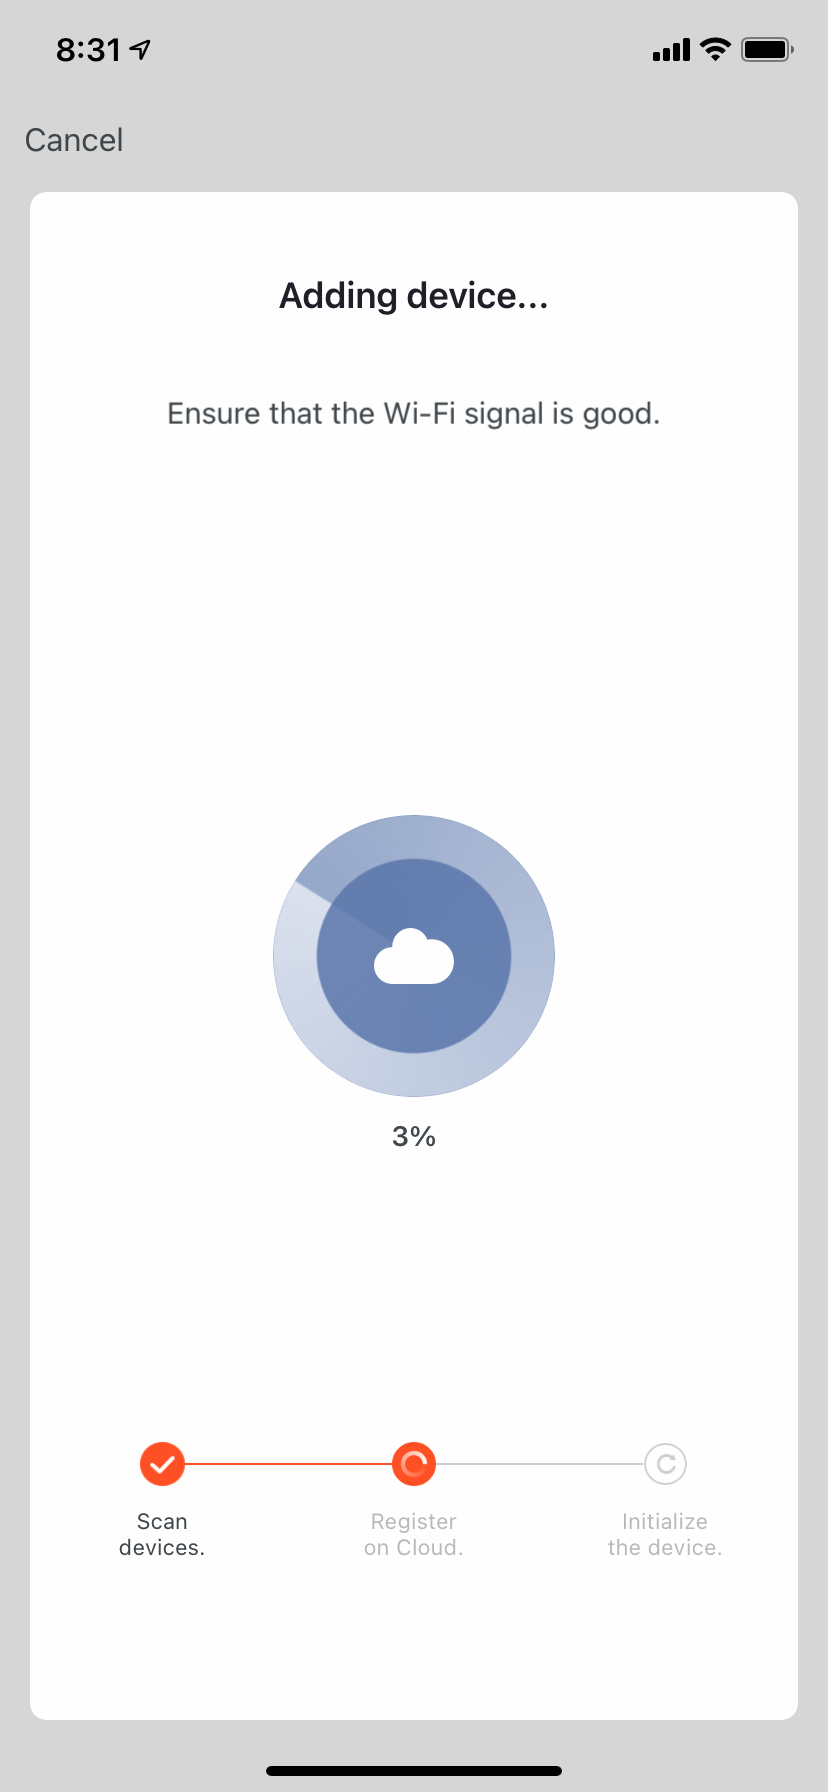
Once you have successfully connected to a 2.4GHz network, the connection process will automatically begin. Wait for the wheel to reach 100% and for the confirmation screen to appear. If you want to configure your Smart Wi-Fi Bulb to work with Alexa or Google Assistant, tap Use Alexa and Google Assistant and follow the on-screen instructions to set up your device further. If not, tap Done to complete the setup process and to start using your Feit Smart Wi-Fi Bulb.

Comments
0 comments
Please sign in to leave a comment.